


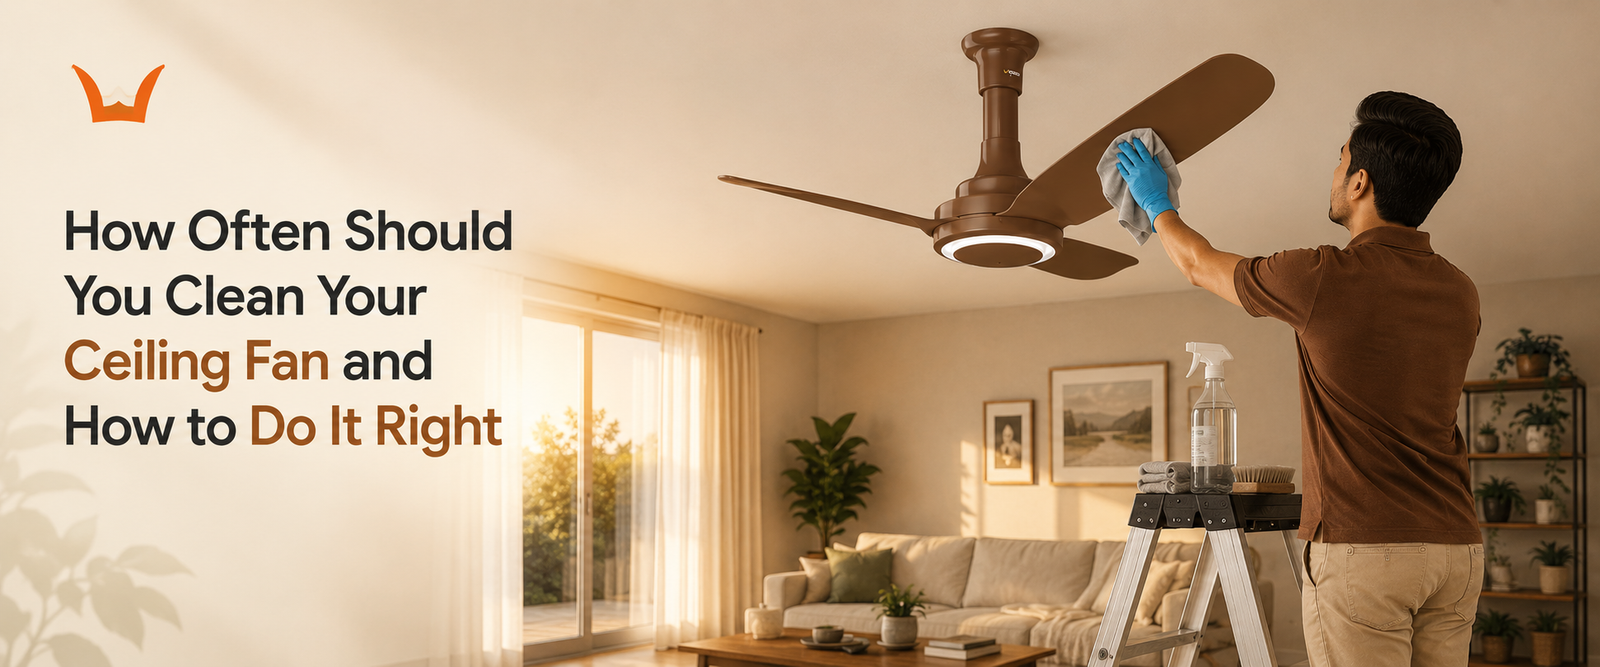
How Often Should You Clean Your Ceiling Fan and How to Do It Right
- A Quick Word on Frequency
- The Right Cleaning Method That Avoids Mess
- The Pillowcase Trick That Every Home Should Know
- How to Clean the Motor Housing Safely
- How to Remove Ceiling Fan Blades for Deep Cleaning
- What to Avoid During Ceiling Fan Cleaning
- One Special Care Point for Syona BLDC Fan Owners
TLDR
- Use pillowcase trick to trap blade dust
- Keep all moisture far from the motor
- Remove blades only when grime is heavy
- Avoid sprays, harsh chemicals, and stiff brushes
- Run on low speed first after every cleaning
Introduction
Cleaning a ceiling fan looks simple until you actually try it. Dust falls everywhere. The blades feel slippery. The motor area looks risky to touch. Most people end up either skipping the job or doing it badly. As a fan manufacturing team, we see the results of both.
This blog focuses on how to clean ceiling fans the right way. The frequency is the easy part. The method is where most homes go wrong. We will cover the practical steps, blade removal, motor area care, and what to avoid completely.
A Quick Word on Frequency
For most regular homes, cleaning every two to three months works well. Homes with pets, dusty rooms, or fans running long hours need more frequent attention, sometimes monthly. Quick weekly wipes between deep cleanings keep dust from building into a project.
That is the short version. The rest of this blog focuses on what really matters. The method.
The Right Cleaning Method That Avoids Mess
The biggest reason people dread fan cleaning is the mess. Dust falls on the bed, the sofa, the floor. The room ends up dirtier than before. A few simple steps fix this completely.
Start by switching off the fan at the wall and at the mains breaker. Wait one full minute for the blades to stop completely. A blade that is still slowly rotating is harder to clean and can be unsafe.
Lay an old bedsheet or newspapers below the fan. Cover any furniture under the fan, not just the floor. Even the best cleaning method drops some dust, and a covered floor saves you a sweeping job later.
Use a sturdy ladder or step stool. Avoid chairs, dining tables, or anything stacked. Most ceiling fan accidents happen because the cleaner was on unstable support, not because of the fan itself.
The Pillowcase Trick That Every Home Should Know
This single trick changes ceiling fan cleaning forever. It costs nothing and works on every type of fan.
Take an old pillowcase. Slip it over the first blade until the blade is fully inside. Press the case gently around the top and bottom of the blade. Pull the case back along the length of the blade in one smooth motion. The dust collects inside the pillowcase instead of falling around the room.
Repeat for each blade. Use a fresh side of the pillowcase or shake the dust into a bin between blades.
This works because the case wraps both sides of the blade at once. Old methods like using a duster only clean the bottom of the blade. The top, where most dust collects, stays untouched. The pillowcase handles both surfaces in one pass.
How to Clean the Motor Housing Safely
The motor area is where most cleaning damage happens. A wrong move here can shorten the fan's life or trigger a short circuit. The good news is that motor cleaning is not difficult when done right.
Use a dry microfiber cloth on the motor housing. Wipe with light pressure in straight motions. Avoid scrubbing in circles or pressing hard. The finish on the housing is meant to be cleaned, not polished.
For the canopy and the area where the fan meets the ceiling, use a soft brush. Move the brush gently in single direction strokes. Never push the brush into vents or seams around the motor. The slots are for ventilation, not for tool insertion.
If you spot sticky residue from cooking fumes or pollution, use a slightly damp cloth. Wipe once, then dry the same area immediately with a fresh dry cloth. Do not leave any moisture on or near the motor.
For BLDC ceiling fans , the controller chip lives near the motor housing. We design our motor enclosures to shield these electronics from accidental cleaning moisture, but extra care still pays off. Treat the motor area the way you would treat the back of a television.
How to Remove Ceiling Fan Blades for Deep Cleaning
When grime, cooking residue, or thick dust has built up over a long time, surface wiping is not enough. Removing the blades for a proper wash gives you a fresh start.
Each blade is held to the motor by two or three screws on a metal bracket. Use the correct size screwdriver. The wrong size strips the screw head and creates a bigger problem.
Support the blade with one hand while you loosen the screws with the other. Once free, place each blade flat on a clean surface. If your fan has matched blade sets, number them lightly with a pencil on the bracket side. The same blade going back in the same spot keeps balance intact.
Wash the blades with mild soap and water. Avoid harsh dish detergents, which can dull the finish over time. Rinse fully. Dry both sides with a clean towel. Then leave them on a flat surface for a few more minutes to air dry completely. Any leftover moisture will trigger wobble issues once the fan starts spinning.
Reattach in the same order. Tighten screws firmly but not too hard. Run the fan on low speed first and watch for balance. If everything looks steady, move up through the speeds.
What to Avoid During Ceiling Fan Cleaning
A few common mistakes shorten the life of even a good fan.
Avoid spraying any liquid directly on the fan. This includes glass cleaners, surface sprays, and water from a spray bottle. Any moisture that enters the motor housing can cause damage that does not show up until weeks later.
Avoid stiff bristle brushes on painted or coated surfaces. These leave fine scratches that collect more dust over time, making the next cleaning harder.
Avoid using cloth strips that shed fibres. The fibres can wrap around moving parts and cause noise or imbalance.
Avoid cleaning the fan while the room is humid. Damp air slows down drying and increases the chance of moisture sneaking into the motor area. Pick a dry, cool time of day for cleaning.
Avoid running the fan immediately after cleaning. Wait at least ten minutes for any residual moisture to evaporate. Then start at low speed before going higher.
One Special Care Point for Syona BLDC Fan Owners
A quick weekly wipe with a long-handled microfibre duster keeps fan blades clean and helps prevent heavy dust build-up.
After every deep cleaning, before switching the fan back on, gently rotate the blades by hand for one full turn. This single check tells you everything you need to know. If the blades spin smoothly without any resistance or rubbing sound, the fan is ready. If you feel any catch, hear any scraping, or notice the blades pulling to one side, do not switch on.
We always share this tip with Syona Roots customers who call us about strange noises after cleaning. Nine times out of ten, the hand rotation check catches the issue before the motor pays the price. This one habit takes ten seconds and adds years of clean, quiet performance to your fan.
Conclusion
The right cleaning method matters as much as the frequency. The pillowcase trick handles the blades. A dry cloth and a soft brush handle the motor area. Blade removal helps when surface cleaning is no longer enough.
Skip the sprays. Avoid harsh tools. Keep moisture away from electronics. Run the fan on low after cleaning before going higher. These few habits protect any ceiling fan and especially the energy savings of a BLDC fan. A clean, balanced fan also helps maintain consistent airflow, allowing features like reverse mode on BLDC fans to perform as intended.
Want a BLDC ceiling fan that is easy to live with and easy to clean?
Regular cleaning helps maintain smooth airflow, quieter operation and the long-term efficiency of your ceiling fan. Choosing a well-designed BLDC fan also makes routine maintenance easier while supporting reliable everyday performance. Explore the Syona Roots range to find ceiling fans that combine modern design, energy efficiency and durable construction for homes and offices.